The slipstitch is a finishing stitch. Use it to hem garments with regular fold-up hems and for attaching the bias to the inside of necklines, waist edges, and sleeve/skirt/pant hems. You can also use a slipstitch to attach flat ribbons and trim to the top side of a garment.
However, the slipstitch is one of the most difficult to fine-tune. It takes a steady hand to make slipstitches truly invisible on the outside of your project. Strive for excellence!
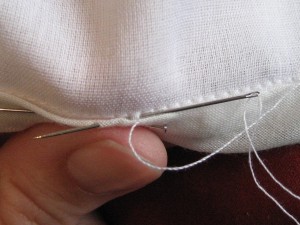
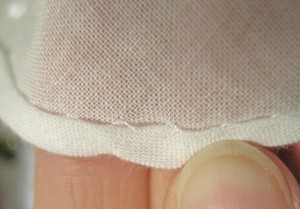
This is a slipstitched folded hem. The part folded up on the right shows the correct side of the fabric and the tiny points of thread. Note: the example was stitched with a reverse thread color (white) to show you where the stitch is. You want to use an appropriate thread color to hide your stitches. 
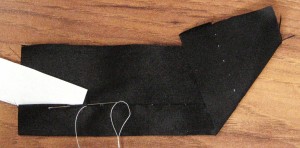
- Secure your thread to the back side of your folded-up bias/hem facing/hem. Take a stitch into the main garment, picking up only a thread or two of fabric.
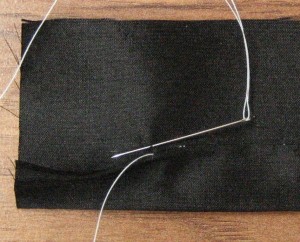
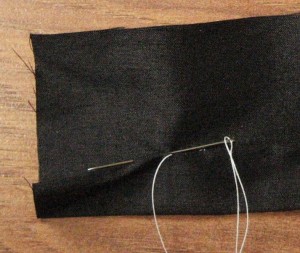
Here you can see the needle picking up only a thread or two of the fabric. This is the part of the stitch that shows on the correct side of the garment. Keep the section small!
- Place your needle again to the back side of the folded hem/bias/facing near your last stitch and run it through the fold. (This can vary from 1/8” up to ¾” depending on the types of fabrics you are using, the strength of the stitch needed, and your particular sewing style.)
You can see the needle has picked up a thread or two of fabric and then was pushed through the fold of the hem to form the stitch. After you pull the thread through the fold, take up another thread of fabric across from where the needle came out of the fold.
- Again, take a thread or two of fabric from the main garment piece and run the needle through the fold a second time.
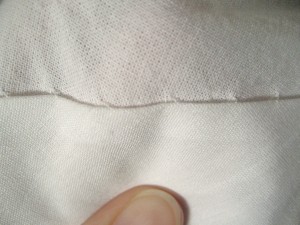
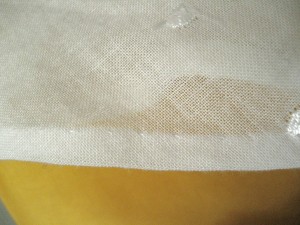
This stitch on the correct side of the garment only shows the few threads of fabric you picked up with your needle.
Below: Top shows the inside hem and the bottom is what you can see on the outside.
In some fabrics, you may need to take up more fabric threads for security. If you are hemming a skirt train, make your stitches close together. For very curved necklines, your closer stitches will help “bend” or ease your bias facing easier around the curve.
No comments:
Post a Comment